Autocad 3d Change Drawing Axis

Introduction to AutoCAD 3D Rotate
AutoCad is 2d and 3d computer-aided designing software, which Autodesk developed as its most important engineering drawing designing software. We have many different types of command in this software; some used for 2d work, and the other is used for 3d modeling work. 3d Rotate is one of the 3d modeling commands through which you can rotate any 3d object in all three axes: x-axis, y-axis, and z-axis. Here in this article, we will understand this topic through an example of a 3d object which we make by using 3d modeling command of this software and analyze how we can control parameters of this 3d rotate command. So let us start our discussion on this topic.
How to Use 3D Rotate in AutoCAD?
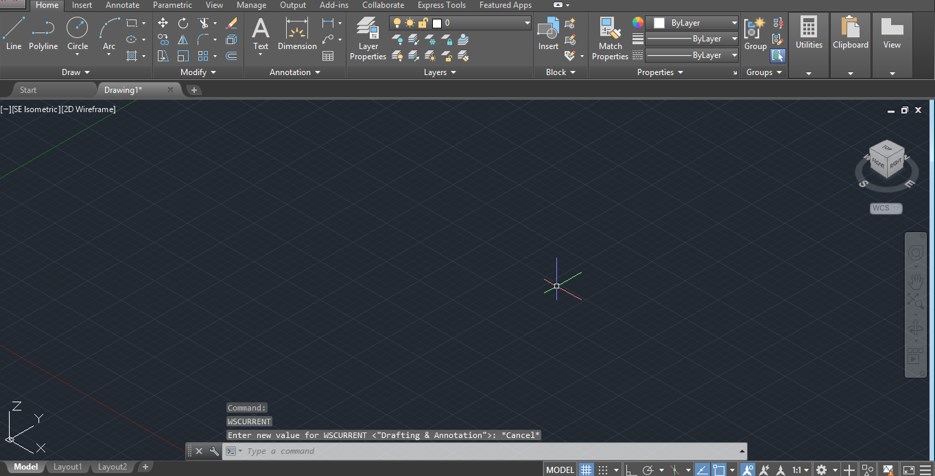
At the top of the working screen, there is one ribbon which has a number of tabs for managing commands of this software; below this; we have a working window area in which we can see our current working; a navigation cube also lies at the top right corner of this window for seeing our object from a different view that is a top view, front view, side view, and some other 3d view, below this we have a ribbon on which we have the number of navigation commands for handling the working during our project in this software.
Step 1: This is our 'Drafting and Annotation' workspace of this Auto Cad software which is by default set on the working screen when you start your auto cad software.
Step 2: Now, for learning 3d rotate, let us change our workspace to 3d Basic, which is 3d modeling workspace. For changing it, go to the workspace switcher option, which is at the ribbon of the navigation tool at the bottom of this software, and click on it. Choose 3d Basic option from the list, and your workspace will change like this.
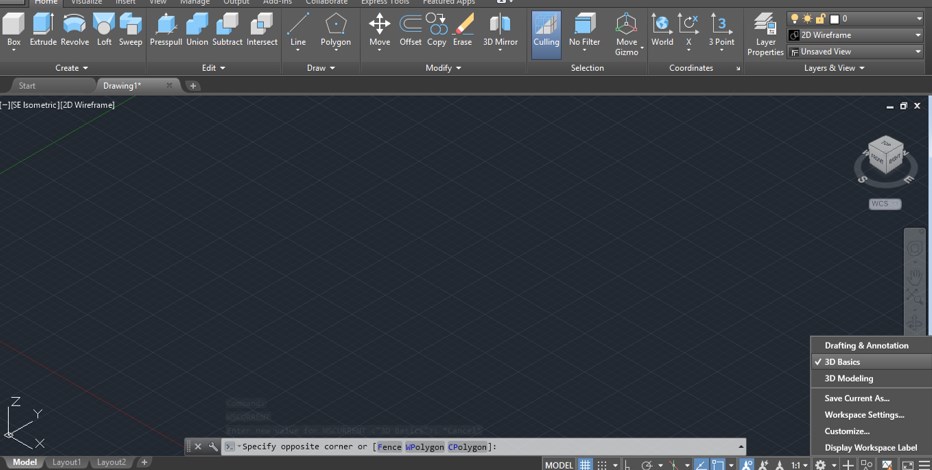
Step 3: Now, let us make a 3d block for making it; go to the Box command of Create menu of Home tab of this software, and click on it.

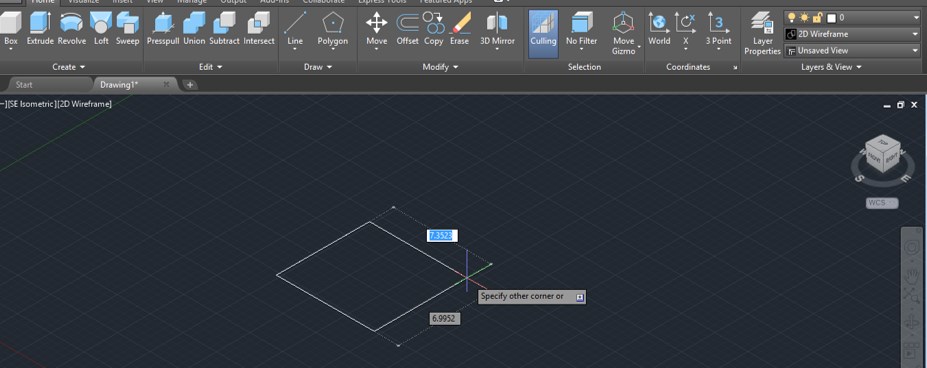
Step 4: Now, draw a box. For drawing a box, first, make a rectangle as a base of that box like this. You can enter the value of this rectangle.
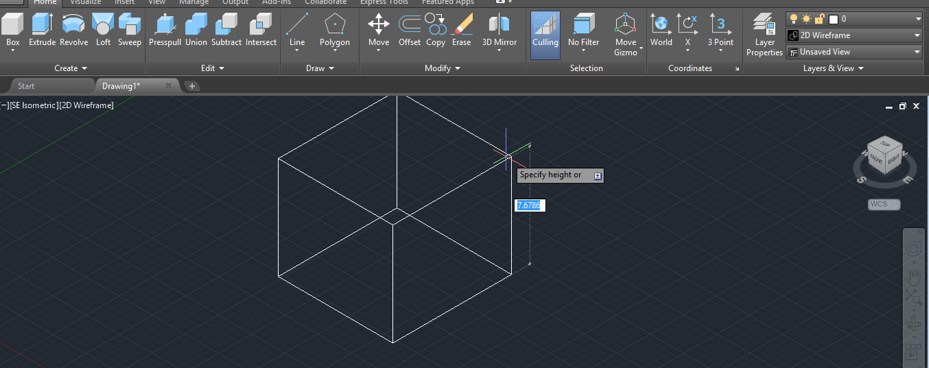
Step 5: Then drag the mouse cursor in the upward direction for giving the height of this box like this, or you can enter the value of height for making it, then make click to complete this command. This is a 2d wireframe view of this object.
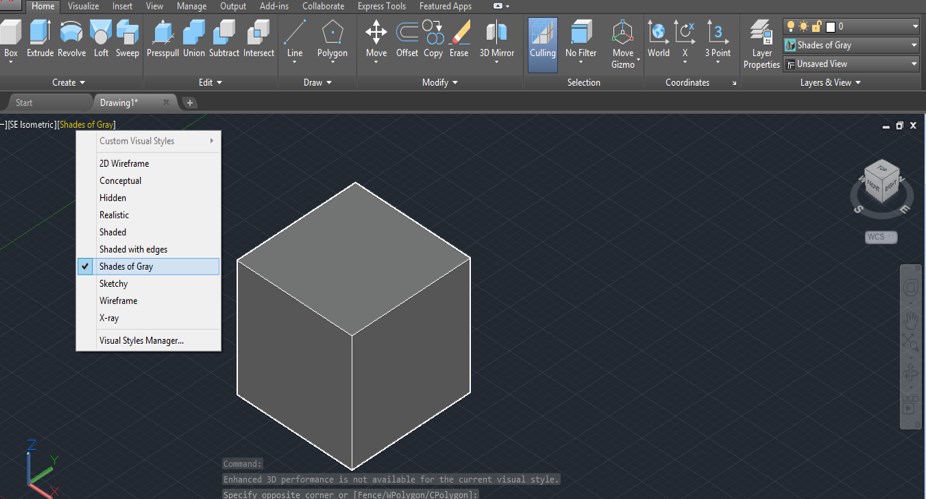
Step 6: For changing it into shaded view, go to the View style control option and click on it, then choose any one of the shaded options. I will choose the Shades of Gray option from the list.
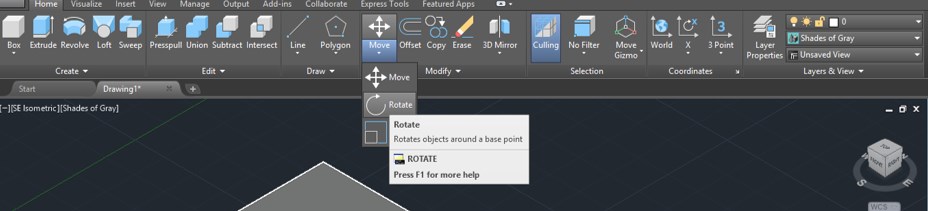
Step 7: Now go to Modify menu of the Home tab of this software and click on the rotate command icon, which is in the list of Move command of this menu.
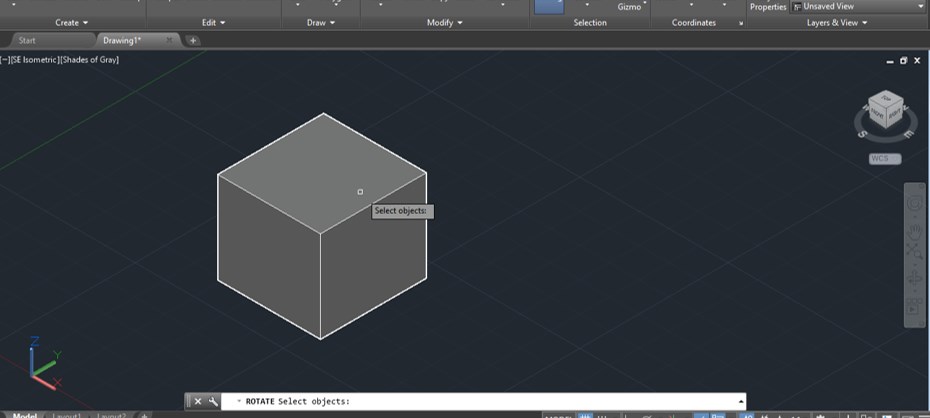
Step 8: Now, it will ask you to select the edge of the object around which you want to rotate the box.
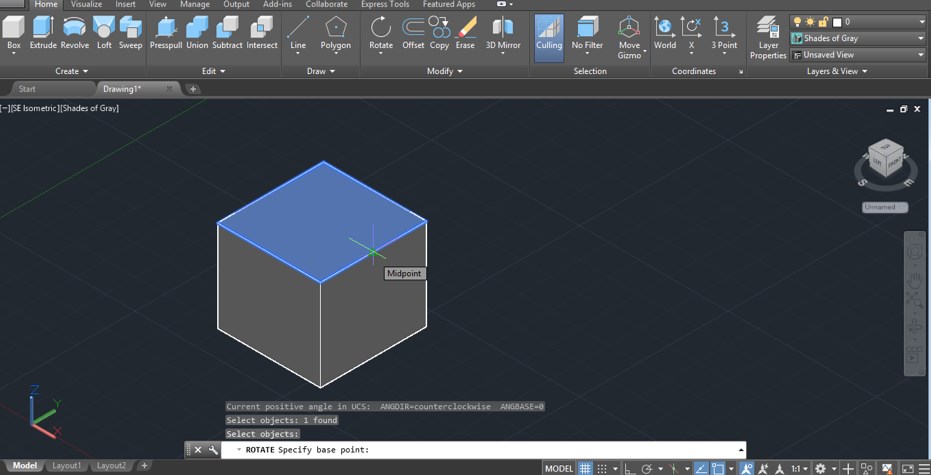
Step 9: Now click on the point around which you want to rotate your object.
Step 10: Now, move the mouse cursor like this to rotate your object in a particular direction around this point, or you can enter the value of the angle at which you want to rotate it.
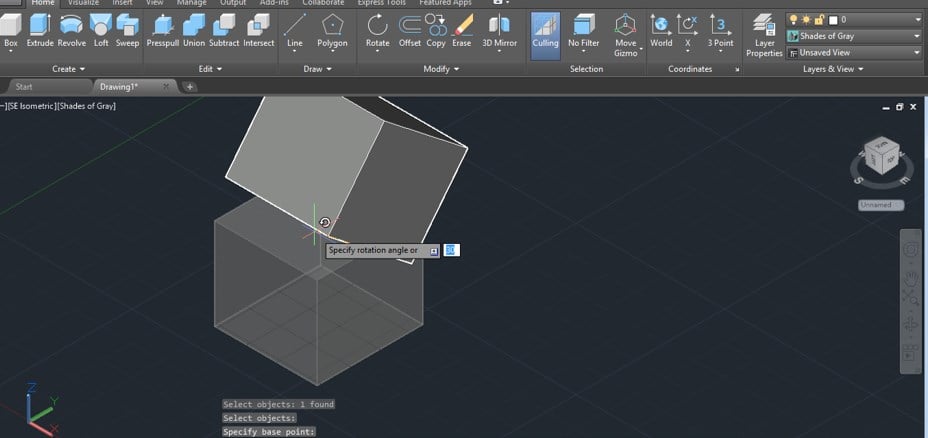
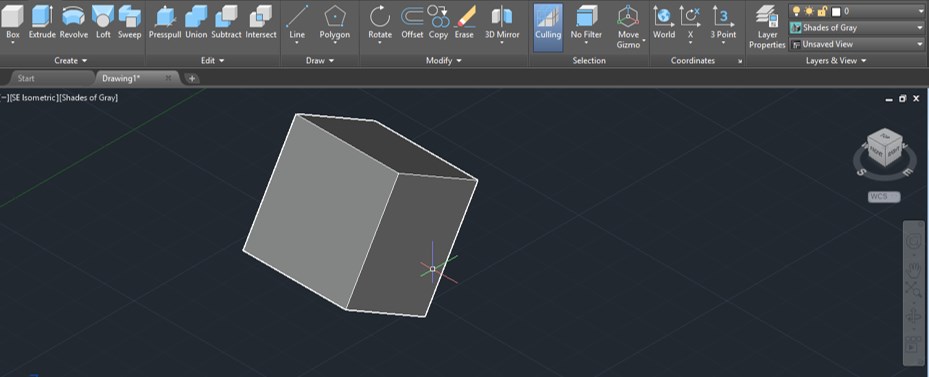
Step 11: Your object will rotate like this at your given angle of rotation.
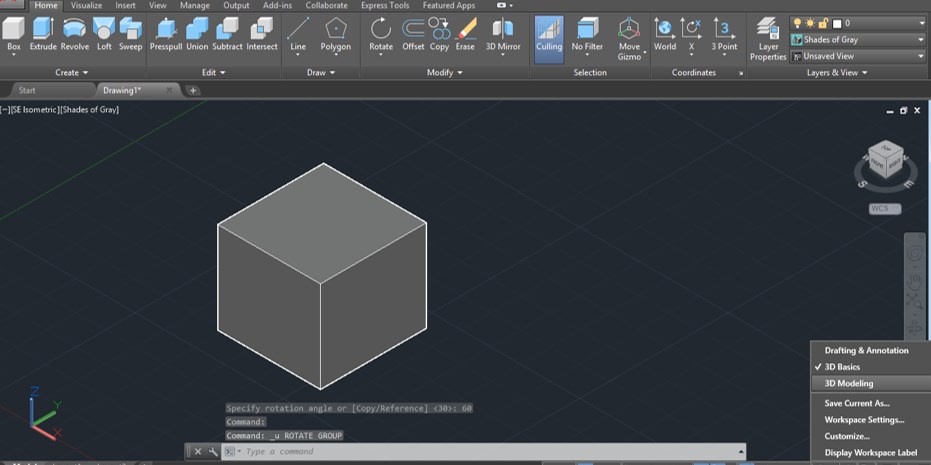
Step 12: Now, let us analyze another method of rotating a 3d object in Auto Cad software. For this method, we have to switch to another workspace of this software that is 3d modeling workspace. For changing it again, go to the Workspace switcher option at the bottom of the working window and click on the 3d modeling option of the list.
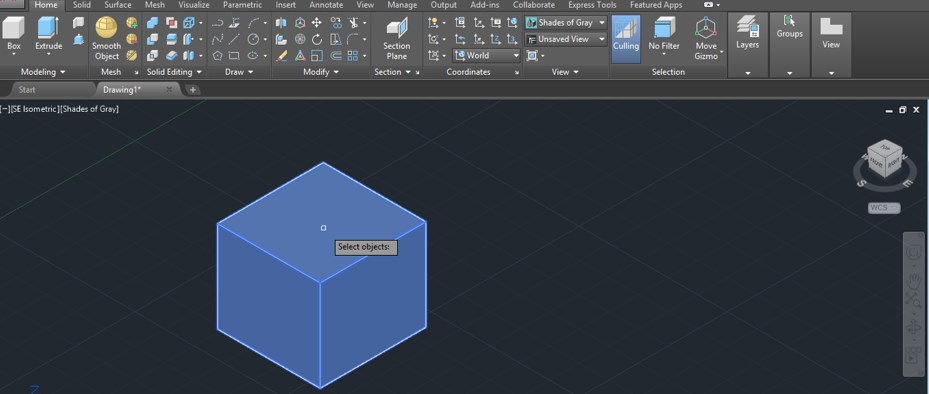
Step 13: Now, your workspace will change like this. Now click on the 3d Rotate command icon, which is at the command of Modify menu of the Home tab of this software.

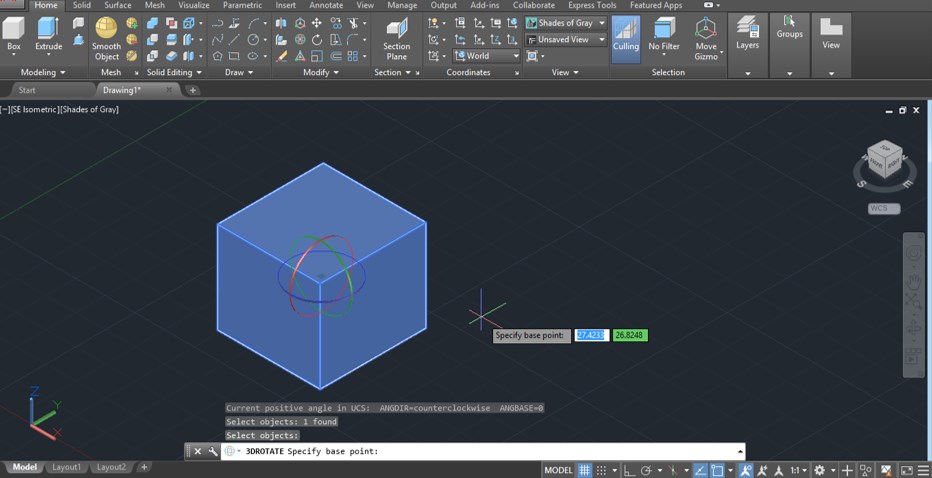
Step 14: Now, it will ask you to select the object you want to rotate by clicking on it. So I will click on this 3d box with the 3d rotate command.
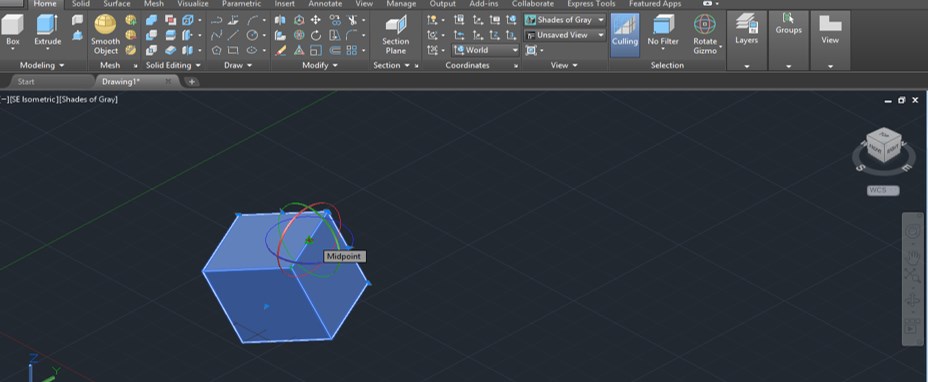
Step 15: Once you make click rotation circles of all three axes will visible to you in the center of this box like this. All circles have a different color according to the colors of their axis origin indicator.
Step 16: Now, when you select any one of the circles for rotating this object along that axis, the color of that circle will convert into yellow color like this.
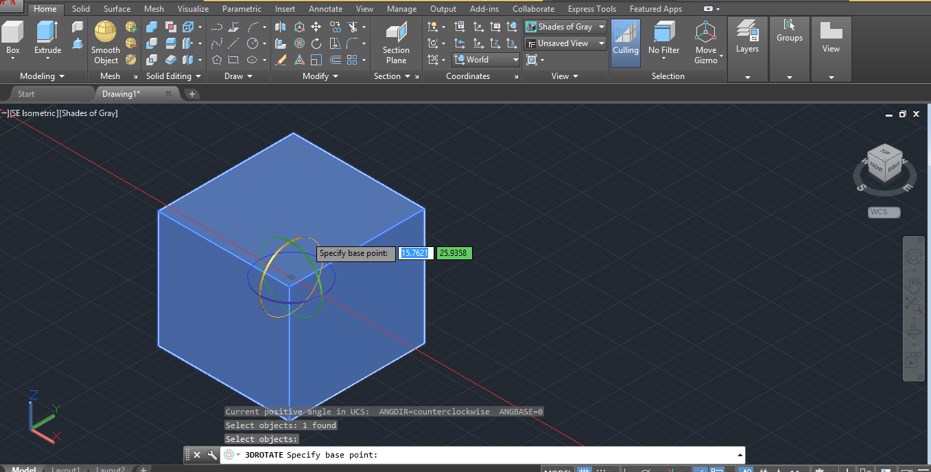
Step 17: Now, hold the cursor of a mouse on this circle and move the mouse cursor to rotate it, or you can enter a value of angle for rotating it along this axis. I will enter 60 degrees as the angle of rotating this box along the x-axis.
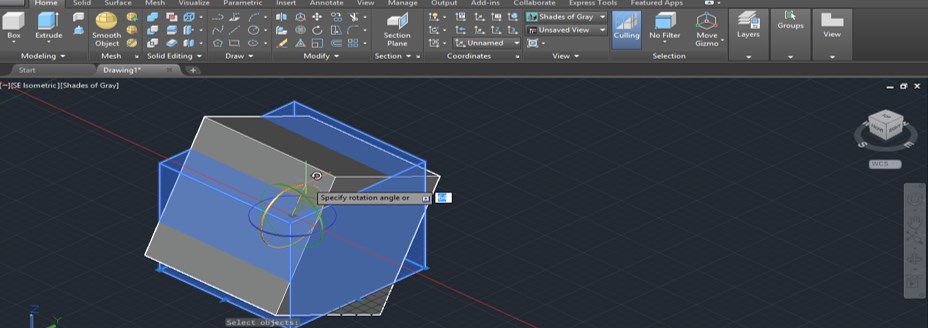
Step 18: You can select any one of the circles for rotating this object along the select axis circle.
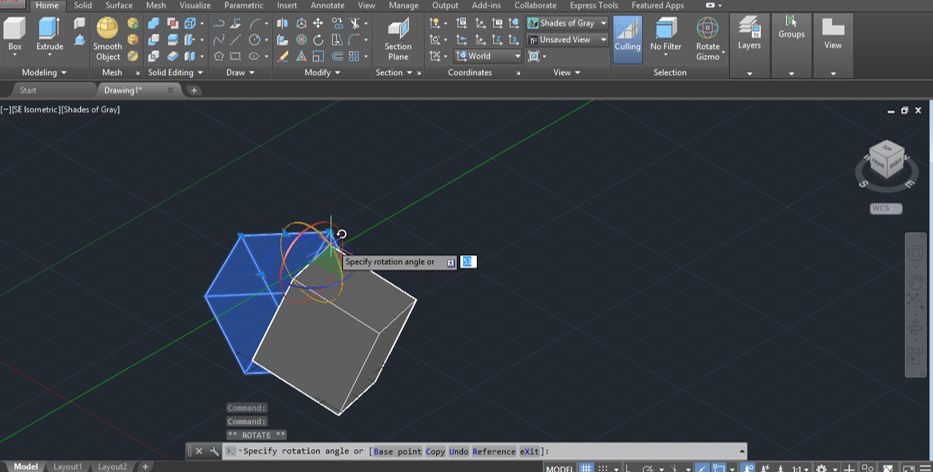
Step 19: You can move these rotation circles at any point of this 3d box for rotating it around that point by holding the center point of these circles and then drag it to that point where you want to place it.
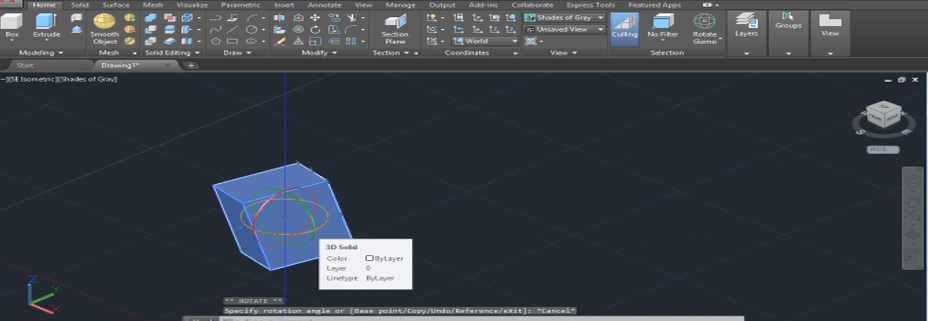
Step 20: Now, when you rotate this box, it will rotate around your selected point like this. You can place these circles at the edge of the box, at the corner of the box, or at any other point of the box according to your requirement.
In this way, you can use 3d rotate command in Auto Cad software for rotating a 3d object at your desired angle for making a particular drawing shape.
Recommended Articles
This is a guide to AutoCAD 3D Rotate. Here we discuss the Introduction, how to use 3D Rotate in AutoCAD, and how you can handle its parameters for making a part of your desired drawing shape. You can also go through our other related articles to learn more –
- Toolbars in AutoCAD
- AutoCAD For Students
- Layout in AutoCAD
- Extrude in AutoCAD
Source: https://www.educba.com/autocad-3d-rotate/
0 Response to "Autocad 3d Change Drawing Axis"
Post a Comment